Los Mas Visitados
-
Hello world! - Welcome to WordPress. This is your first post. Edit or delete it, then start writing! The post Hello world! appeared first on .Hace 10 meses
-
Por: sonamor - Las faldas para los varones son mas que una moda, son toda una necesidad. https://www.youtube.com/watch?v=agFyVdxCSes&feature=relatedHace 13 años
Paginas de consulta
Datos personales
This page was created by Dario Taboada, all rights reserved. Con la tecnología de Blogger.
Translate
DIY Lego USB


You Need:
-Thumb Drive
-Lego bricks
-Super glue
-Razor blade
-Dremel


First, take apart your thumb drive by cutting it open with the razor, then take the drive part out (without breaking it), and size it up to a Lego brick to determine what size you'll need. Then, head to your work place for the rest.


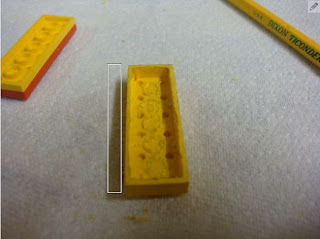
Now get out your dremel or drill and drill out all the insides of your Lego brick, leaving only a "trough" which your drive will go.


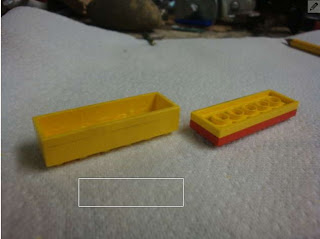
After your Legos insides are out you're going to sand it down to the size of two flat Legos, so stack two flat Legos on top of each other and trace a line onto the brick where your gonna shave off, look at the pictures for more help. I used a dremel to sand the brick down, on my first one a used a file but that took almost an hour. Amost Done!


My drive didnt fit in the Lego brick so I had to widen the sides, so I took a drill to the sides and made it a little wider (You are most likely going to have to do this). Then, cut out a slot for the drives metal thingy.


To finish your drive, take a flat brick and shave off all but two of the dots (this makes it so the bottom will fit into the other brick better) so your drive will fit, then simply glue the bottom piece onto the hollowed out shave down brick and your Done!

Suscribirse a:
Enviar comentarios (Atom)


0 comentarios:
Publicar un comentario